Screen printing is a popular technique known for producing vibrant colors and detailed designs on various surfaces, from textiles to paper. This method involves using a stencil, or screen, to push ink through onto the desired material, making it ideal for custom products and promotional items.
This article provides a comprehensive guide to screen printing. At the end, you’ll have a detailed knowledge of how to carry out screen printing, tips for ensuring flawless result, and of course the differences between screen printing, heat transfer, and digital printing so that you don’t confuse them.
What is Screen Printing?

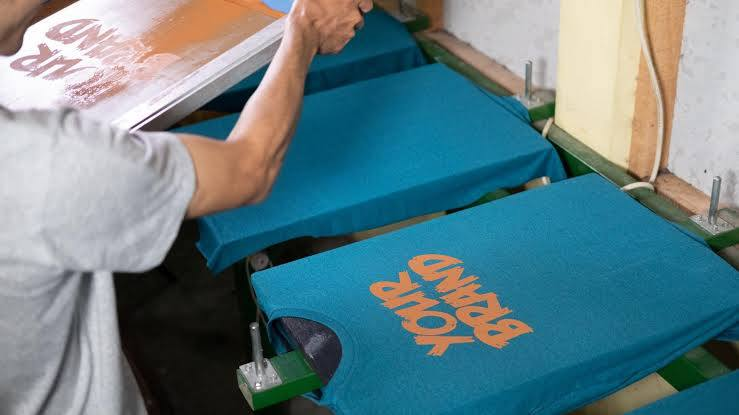
Screen printing is a process that uses a mesh screen to transfer ink onto a substrate, such as fabric, paper, or even wood. The technique involves creating a stencil on the screen, which allows for defined areas where the ink will pass through. This method can accommodate multiple colors, as each ink color is applied using a separate screen. Originating from ancient techniques, it has evolved into a favored method among many professionals for its reliability and vibrancy.
Why Screen Printing?
There are numerous advantages to using screen printing, making it a popular choice across various industries:
- Durability: Prints created using this method are known for their longevity. Ink bonds well with substrates, resisting fading and wear even after numerous washes.
- Versatility: Screen printing is adaptable for use on numerous materials, from textiles to ceramics. This flexibility opens doors to a range of products, from T-shirts to promotional items.
- Cost-Effectiveness for Bulk Orders: The initial setup for screens can be time-consuming; however, once prepared, producing larger quantities becomes significantly cheaper. Bulk orders often result in a lower cost per unit.
- Color Vibrancy: Screen printing allows for vibrant, saturated colors that don’t easily fade. This is crucial for designs requiring bold visuals, making it a preferred option for custom apparel.
- Customization: Screen printing provides the option to create unique designs, allowing businesses and artists to stand out in a crowded market.
- Statistics show that screen printing remains a dominant form of apparel decoration, with an estimated market worth of over $4 billion in the U.S. alone. This proves its continued relevance and popularity.
Difference Between Screen Printing, Digital Printing, and Heat Transfer
Screen Printing
Screen printing is a method that involves creating a stencil and using it to push thick ink through a mesh screen onto a substrate. This technique is particularly effective for high-volume orders, as its setup costs are offset by lower per-unit prices in bulk. Screen printing is well-suited for designs with solid colors and is versatile across various materials, including textiles and metals. The output is characterized by vibrant colors and a tactile quality due to the thicker ink layer, ensuring durability and resistance to wear.
Digital Printing
Digital printing uses inkjet or laser technology to print directly from digital files onto the substrate, eliminating the need for stencils. This method is ideal for short runs and intricate designs, allowing for high-resolution prints that include photographic images with color gradients. While digital printing has lower initial setup costs, it can become more expensive for larger quantities. The resulting prints offer excellent detail and color accuracy, although they may not match the saturation or opacity provided by screen printing.
Heat Transfer
Heat transfer printing involves printing a design onto transfer paper, which is then applied to the substrate using heat and pressure. This method is best suited for small orders or personalized items, as it allows for detailed and colorful designs without extensive setup costs. It is commonly used for apparel and promotional pieces. While heat transfer can yield vivid prints, the durability of the transfers depends on proper application; if not done correctly, they may crack or peel over time.
Step-by-Step Screen Printing Process
1. Design Preparation:
- Use graphic design software (like Adobe Illustrator) to create your artwork. Ensure it is sized correctly for your substrate.
- Decide on the number of colors. For each color, a separate screen will be needed.
2. Creating Your Screens:

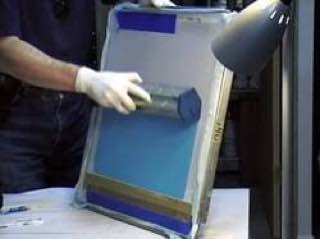
- Coating the Screen with Emulsion: In a dark environment, evenly apply the photo emulsion to the screen using a scoop coater. Ensure it covers both sides and avoid bubbles.
- Drying: Let the emulsion dry in the dark, typically for 1-2 hours, until it becomes tacky to the touch.
3. Exposing the Screen:

- Print your design onto a transparency. Make sure it is opaque enough to block light.
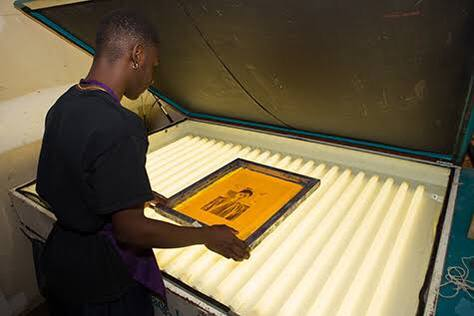
- Place the transparency on the emulsion-coated screen and expose it to a UV light source as per the manufacturer’s instructions (usually around 10-20 minutes).
- The areas blocked by the design will remain soft, while the areas exposed to light will harden.
4. Washing the Screen:
- After exposure, rinse the screen with water. The soft emulsion in the design area will wash away, revealing your stencil.
- Use a gentle spray at first and then increase pressure as needed to clear away the emulsion.
5. Setting Up Your Print:
- Place your substrate on a flat surface or a printing press. Securely position the screen over the substrate where you want the design to appear.
- Align the screen carefully, especially if printing multiple colors, to ensure perfect registration.
6. Inking the Screen:
- Pour a line of ink (usually about an inch thick) along the top edge of the screen.
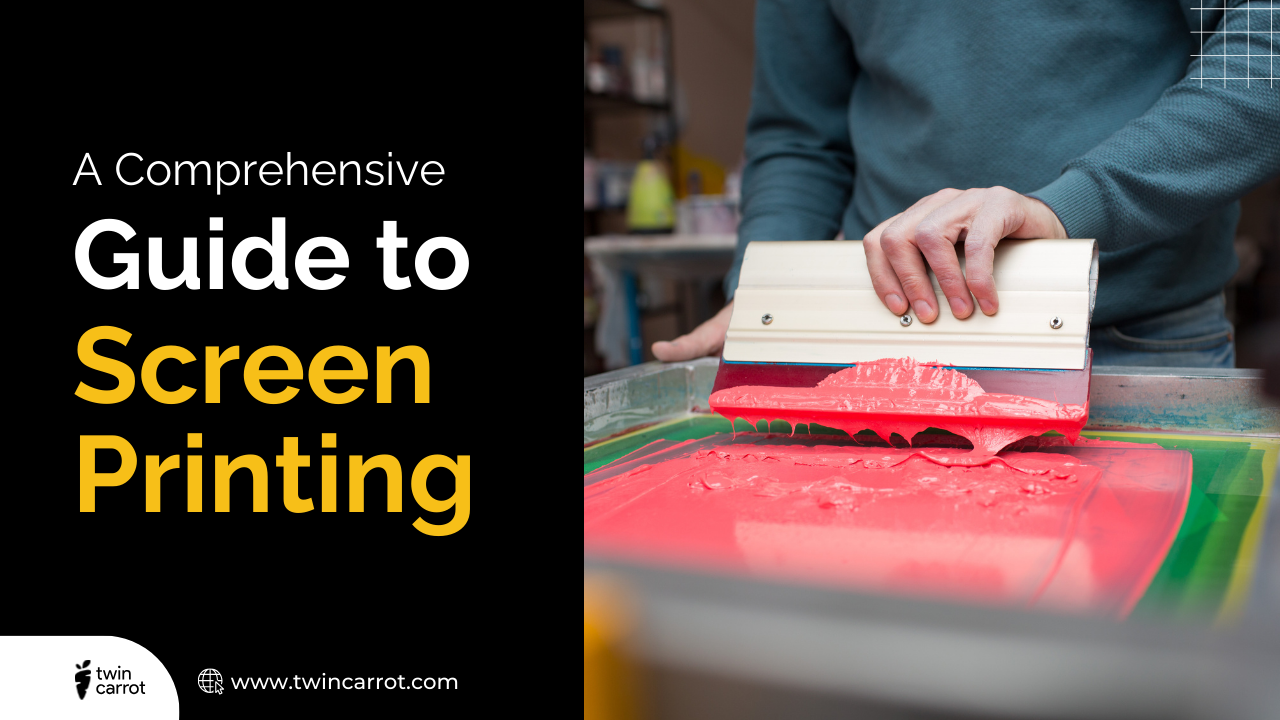
- Use a squeegee to pull the ink smoothly across the screen. Apply even pressure to ensure the ink passes through the stencil and onto the substrate.
- Repeat this process if additional colors or layers are required, making sure to allow the initial layers to dry if necessary.
7. Drying and Curing:
- Allow the print to air dry. Depending on the ink type, you may need to heat-cure the print using a heat press or dryer to ensure the ink bonds properly to the fabric.
- For plastisol inks, curing usually requires heating to about 320°F (160°C) for optimal durability.
8. Cleaning Your Equipment:
- Immediately after printing, clean your screen and tools to prevent ink from drying. Use water for water-based inks or a specialized ink cleaner for plastisol.
- Remove emulsion from screens using an emulsion remover if you plan to reuse them for another design.
Tips for Successful Screen Printing
1. Choose the Right Mesh Count
Selecting the appropriate mesh count is crucial for print quality. Lower counts (110-160) work well for bold designs and thicker inks, while higher counts (230+) are better for fine details. The right mesh prevents smudging and ensures clarity in your prints.
2. Test Prints
Conducting test prints before the main run is essential for assessing design alignment and color application. Testing on the actual substrate helps identify necessary adjustments, saving time and minimizing material waste during larger production runs.
3. Maintain a Clean Workspace
A tidy workspace is vital for screen printing success. Dust, grease, and leftover ink can affect print quality. Regularly clean your printing area and tools to prevent cross-contamination, ensuring consistent and professional results.
4. Use Quality Inks and Materials
Investing in high-quality inks and substrates enhances durability and visual appeal. Quality inks resist fading and cracking, and suitable substrates improve adhesion, leading to impressive prints that represent your work effectively.
5. Document Your Process
Keep detailed records of each project, including ink types, mesh counts, and techniques used. This documentation serves as a valuable resource for future projects, helping to streamline your process and improve results over time.
6. Adjust Your Pressure
Finding the right squeegee pressure is key to optimal ink transfer. Adjust pressure levels during application to achieve uniform coverage; too much pressure can cause flooding, while too little may lead to insufficient ink distribution.
7. Consider the Type of Ink
Different inks serve various applications. Plastisol inks are vibrant and easy to use, while water-based inks are eco-friendly and ideal for light fabrics. Choosing the right ink type based on substrate and effect improves print quality.
8. Pay Attention to Curing
Properly curing your prints is essential for durability. Follow manufacturer recommendations for temperature and time, using heat presses or dryers as needed. Adequate curing prevents fading and cracking in the final product.
9. Use Registration Marks
Using registration marks on screens and substrates helps align multi-color designs, ensuring colors layer perfectly. Proper registration prevents misalignment, leading to a more professional final appearance.
10. Experiment with Techniques
Don’t hesitate to explore different techniques within screen printing. Approaches like discharge printing, gradients, or metallic inks can yield unique results. Experimentation enhances creativity and can lead to standout designs.
Conclusion
With the right materials and knowledge, screen printing can be an enjoyable and rewarding process. Whether you’re starting a business or creating personalized gifts, mastering these steps can lead to exceptional results. For all your screen printing needs, consider partnering with Twincarrot to access high-quality materials and expert support.

